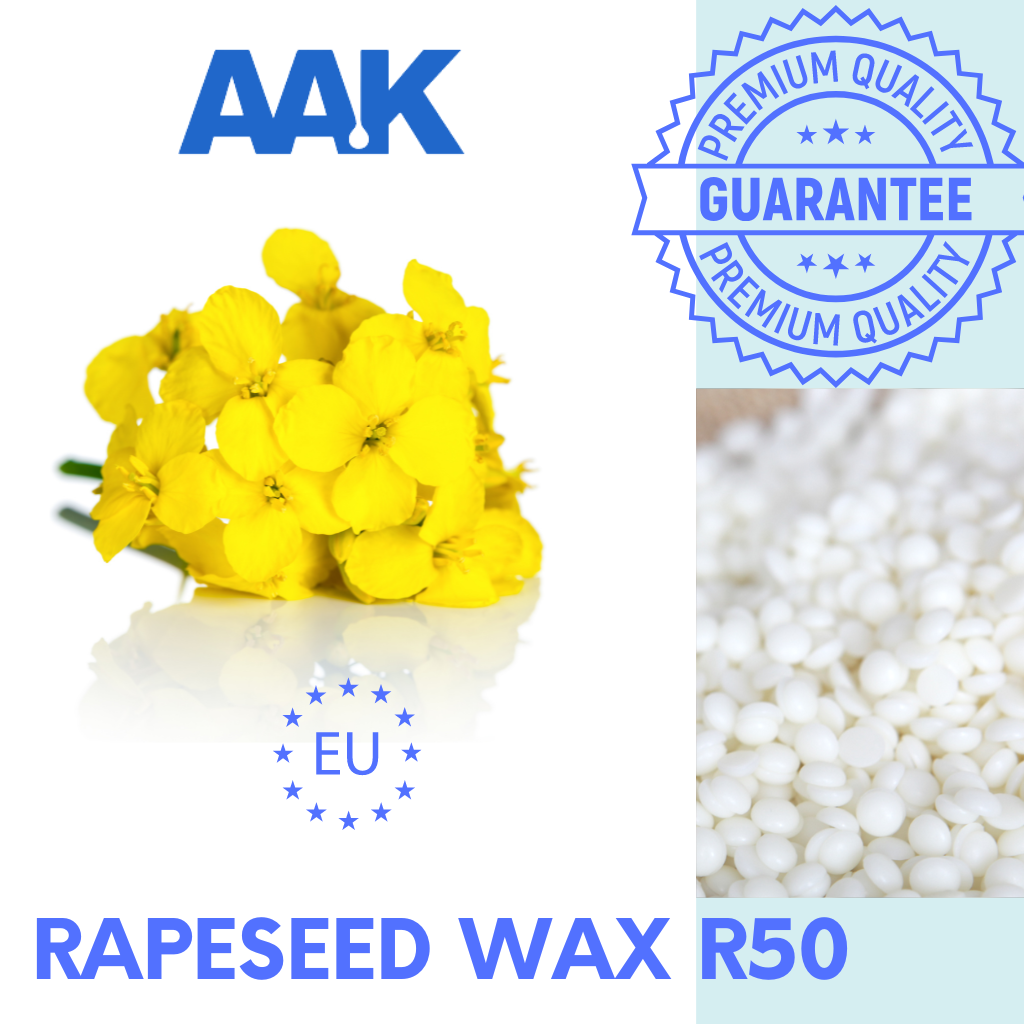


RAPESEED WAX FOR MOLDS (R50)
€6,95 EUR
Description
100% vegetable rapeseed wax for perfumed molds , of European manufacture and origin.
GMO-free guarantee. Residual levels of pesticides and others below tolerated levels in food. (Maximum residual levels below 0.0001% in the wax)
Wax composition:100% rapeseed and nothing else...
100% natural, 100% vegetable (vegan wax), and biodegradable.
This wax has an excellent olfactory rendering hot and cold. Exclusively from European cultures.
France is the leading European producer of rapeseed and Europe is the leading producer worldwide. This crop, which embellishes our landscapes with a yellow color in April-May, produces seeds rich in oils and vegetable proteins.
Product Specifications
Rapeseed wax is not the easiest to work with but it results in beautiful truly ethical candles. It is therefore an aesthetic solution, as well as being ethical.
Rapeseed is a local product, grown in existing fields to allow the soil time to regenerate in between two crops.
It requires fairly cold pouring and a fairly well-controlled environment. We recommend the addition of a crystallization additive like stearin for easier use and a better aesthetic result (3 to 10%).
We also recommend heating the glasses so that the crystallization is as slow as possible. cooling too quickly can cause cracks or wet spots.
This 100% rapeseed wax can be also used as a natural additive to harden/soften other natural waxes and obtain lower melt temperatures.
This renewable material has been developed to produce high-quality molds/waxmelts. Rapeseed Wax comes from the oil that is harvested from the plant, it is an ideal sustainable eco-wax. The Rapeseed crop sources are from locally grown non-GM crops in the UK, France, and Germany.
As it is a hard wax you may want to add a small percentage ( 20%-30% ) of a softer wax such as soy and make your own exclusive blend.
As it is naturally a hard wax it's good for perfumed molds - Resulting in very nice and shiny fragranced molds. It requires less fragrance than soy or coconut waxes.
Take these brands as inspiration :
https://www.hetkinen.com/collections/rape-seed-wax
https://www.hoppingharecandles.co.uk/shop/
https://thedifferentkind.com/collections/aerende
https://www.skandinavisk.com/en-pt/skog-scented-candle.html
Here it's Eco credentials
- Low carbon footprint – rapeseed is grown in Europe so it is not traveling over oceans to get here
- It does not create harmful toxins
- It is non-hazardous for us, our pets, or wildlife
- It helps our bees, they love the nectar that rapeseed flowers product
- It feeds our animals
- In the form of bio-fuel, it powers our vehicles
- It is sustainable
- It protects our soil
- It is not genetically modified
Interested in knowing about rapeseed crops in Europe, here is an extensive article.
Click here to know the AAK source and how rapeseed oil is used in the waxes.
Instructions and recommendations
Don't work with rapeseed wax as you do with soy wax. Rapeseed wax is a bit sensitive and likes to be treated with a lot of attention.
- This wax requires a second pour to fix any sags or cracks on the surface.
- This wax gives a white candle surface appearance and can often appear matt or glossy depending on temperatures during candle-making process.
As an example, to melt it, you have to heat it to a temperature of at least 60ºC but never above 75°C if you don't want to damage its crystalline structure. The container (assuming you're making a container candle) will have to be at least at room temperature but preferably heated to around 45ºC. Adding dye to the wax happens around 70ºC (some solid dyes will not melt under that temperature) and adding fragrance oil is best done between 55°C and 60ºC. Finally, pouring into the (still at 45ºC) container is done at a rather low temperature. Manufacturers often mention 50ºC but experience shows that a lower temperature (as low as 38ºC) gives better results. Let the candle cool off as slowly as possible in a room that is not chiller than 20ºC
Rapeseed wax has a natural inclination to display some level of frosting at its surface and will often develop cracks; following the instructions relative to the different temperatures will help minimize these symptoms but not eliminate them completely. Surface cracks can usually be mended using a heat gun but other than that, these imperfections are like the signature of rapeseed wax and the price to pay if you want to use a truly natural and environmentally responsible wax.
Once poured, it is recommended to let your container candles cure for at least a week at room temperature before using them.
- Melting temperature: 47-54°. Heat the wax to at least 60° without exceeding 80°.
- Add the additive at about 70°C
- Add color dye at 70ºC
- Add the perfume between 65º and 55° ( best at 55ºC ).
- Pouring temperature: 45-53° ( Best <47ºC)
- Fragrance load: up to 6-8%
With rapeseed, you will need a thicker wick than those used in soy wax and much thicker than those used in blends with coconut wax.
From our tests, we could see that in between burns this wax doesn't present the most smooth surface ( typical from vegetal waxes ). It improves with the addition of a small percentage of 2-5% of stearine of rapeseed ( a special product for rapeseed waxes). If you are using 1 Kg of wax start with 20g of stearine.
Regarding wicks if used in containers :
The wick you use will be an average of two sizes above what you would normally use in a soy wax container candle of the same size/diameter. The ideal wick for rapeseed wax is one in the TCR Series
| Wick TCR | Container Diameter |
| 15/8 | 5cm |
| 18/10 |
5.8 cm |
| 21/12 | 6 cm |
| 24/14 | 6.5 cm |
| 27/16 | 7 cm |
| 30/18 | 7.2 cm |
| 33/20 |
7.5 cm |
| 36/22 |
8cm |
| 39/24 |
8.5cm |
Note: This is just a starting point as there are many variables that can affect burning.
Packaging: in pellets.
in bags of 1,5,10 and 20kg.
Tested recipe for containers :
We tested 160g of Rapeseed Wax + 40 g Soy 464 +10 g of rapeseed stearin +14 g of Fragrance Oil ( we tested Gold, Frankincense & Myrrh) with a TCR 36/20 wick, and the resettings between burning cycles were beautiful in a 30 cl container glass Aurelie.
Great, great HT and CT ( hot throw and cold throw). One of the best
Also, this recipe can be used as a refill as the candle comes out of the glass beautifully.
For other fragrances or other soy wax just test and adjust the wick if necessary.
How to take the vegetal mold of the silicon mold ( if you use it in molds)
Taking vegetable wax molds out of silicone molds can be a delicate process to prevent breakage or damage. Here's a step-by-step guide with some tips and tricks to make it easier:
-
Prepare Your Work Area:
- Ensure your workspace is clean and dry.
- Make sure the silicone mold and the vegetable wax are at room temperature.
-
Use a Release Agent:
- Apply a mold release agent to the inside of the silicone mold before pouring in the vegetable wax. This can be a silicone-based spray or a specialized mold-release product.
- Allow the release agent to dry or set as per its instructions.
-
Pour the Wax Carefully:
- When pouring the melted vegetable wax into the silicone mold, do it slowly and steadily to minimize air bubbles and ensure it fills all the details of the mold.
-
Cooling and Setting:
- Allow the wax to cool and set completely. This may take several hours or overnight depending on the size and thickness of the wax mold.
-
Gently Flex the Mold:
- Before attempting to remove the wax from the mold, gently flex the silicone mold by pressing on the sides. This can help loosen the wax from the mold's surface.
-
Start at the Edges:
- Begin removing the wax mold from the silicone by carefully peeling back the edges. Use your fingers to create a gap between the wax and the mold.
-
Avoid Force:
- Do not force the wax out of the mold. If it feels stuck, gently flex the mold a bit more and try again.
-
Use a Soft Tool:
- If necessary, use a soft, non-abrasive tool like a silicone spatula or a plastic spoon to help ease the wax out of the mold. Be very gentle to avoid damaging the wax.
-
Warm the Mold Slightly:
- If the wax is particularly stubborn, you can warm the silicone mold slightly with a hair dryer or a heat gun on low heat. This can help loosen the wax without melting it.
-
Patience is Key:
- Take your time and work slowly. Rushing the process can lead to breakage.
-
Inspect for Breaks:
- Once you've successfully removed the wax mold, inspect it carefully for any cracks or breakage. If you find any, you might need to re-melt the wax and make a new mold.
-
Clean and Store:
- Clean the silicone mold after use, and store it properly to maintain its condition for future use.
Remember that practice makes perfect. It may take a few tries to get the hang of removing wax molds from silicone molds without breaking them. Additionally, the quality of your silicone mold and the type of wax you use can also influence the ease of removal. High-quality molds and proper techniques will typically yield better results.
Silicone molds are known for their non-stick properties, and in many cases, they do not require a release agent. However, whether you need a release agent for silicone molds can depend on several factors:
-
Type of Silicone Mold: Most silicone molds designed for crafting, baking, or soap-making are naturally non-stick, and you can often use them without a release agent.
-
The complexity of the Mold: If you're using a silicone mold with intricate details, deep crevices, or undercuts, it may be a good idea to use a release agent to ensure easy removal of the molded item.
-
Type of Material Being Molded: Some materials may have a tendency to stick to silicone more than others. For example, certain types of wax, resin, or clay may require a release agent, while others may not.
-
Personal Preference: Some individuals prefer to use a release agent as an added precaution to ensure that their molded items come out easily and without any risk of damage.
-
Reuse of the Mold: Using a release agent can also prolong the life of your silicone mold by preventing any build-up or residue from repeated use.
In many cases, you can start by trying to use your silicone mold without a release agent. If you find that the material sticks or has difficulty coming out of the mold, then consider using a suitable release agent. Common release agents include silicone mold release sprays, vegetable oil, or even a light dusting of cornstarch for certain applications.
Ultimately, the decision to use a release agent with your silicone mold should be based on your specific project and the materials you're working with. Experimentation may be necessary to determine the best approach for your particular situation.